7. Visual Walkthrough: After Signup
This guide ties together the key screens you'll use right after creating your owner account, giving you a single end-to-end tour of what to expect: your dashboard, your first campsite and pitches, your branded landing page, your bookings inbox, and your Stripe payouts.
If you'd rather follow each step in detail, see the dedicated guides linked from the Owner Onboarding Guides overview.
1. Your dashboard
After signing up and verifying your email, your owner dashboard gives you an overview of your campsites, recent bookings, and any setup steps you still need to complete.
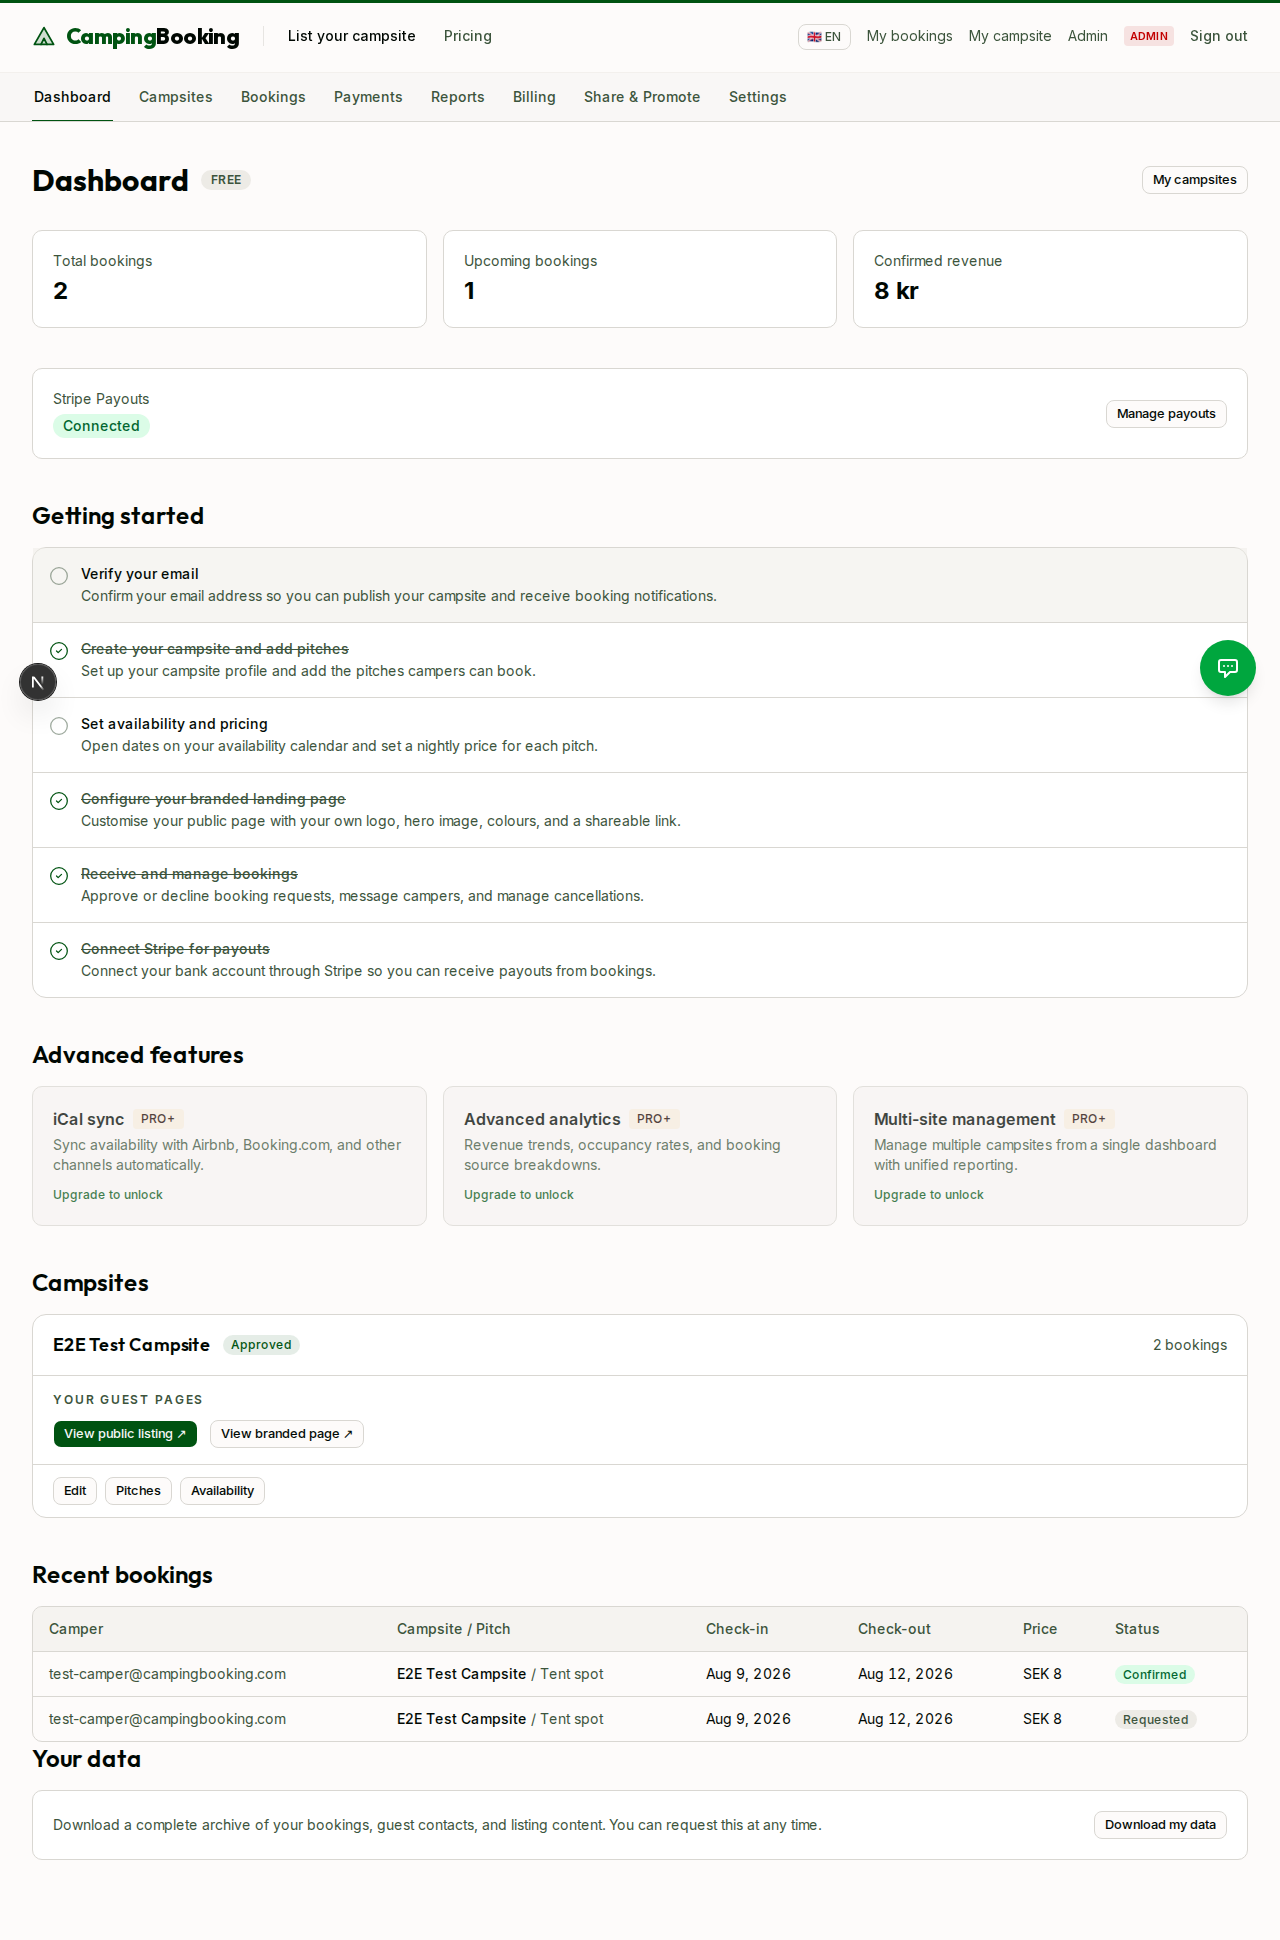
See Sign-up and email verification for details on getting your account verified.
2. Your campsite and pitches
Once you've created a campsite and added at least one pitch, your campsites list shows the listing along with its pitch types — the individual bookable units campers will choose from.
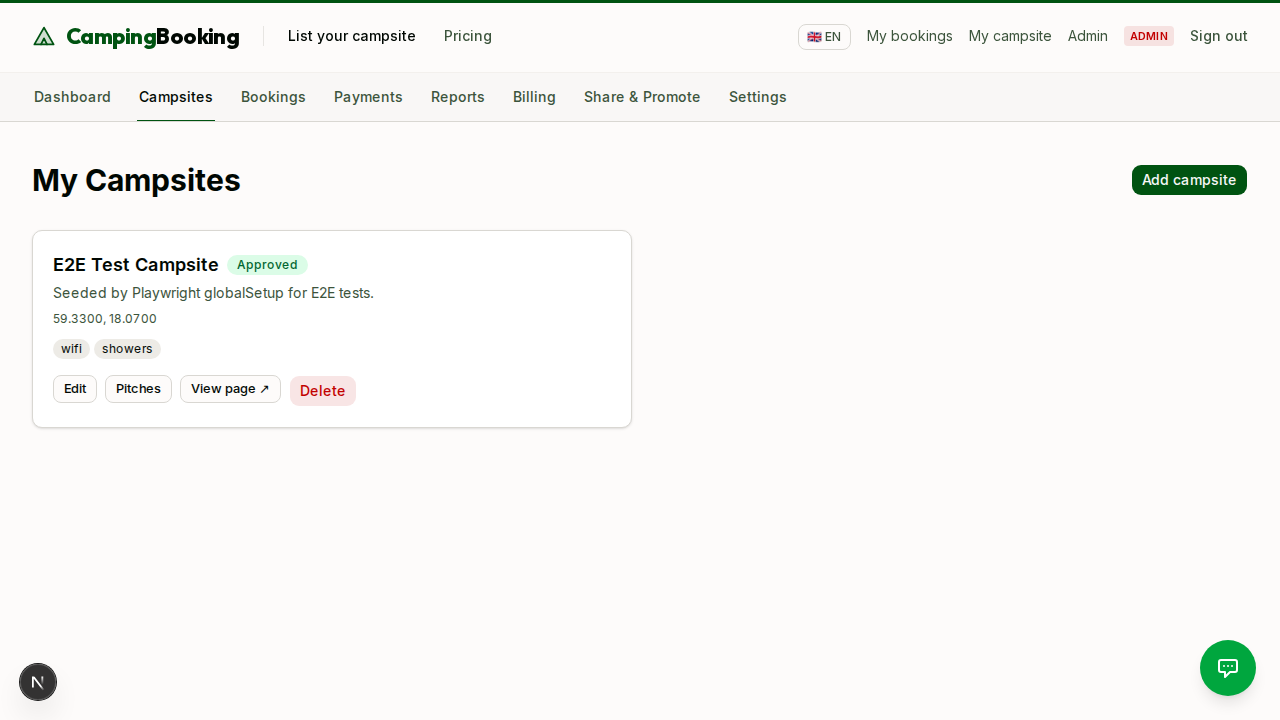
See Creating a campsite and adding pitches for the full setup steps.
3. Your branded landing page
Every campsite gets a branded public page with your own slug, logo URL, colours, and — on Pro — a custom domain. It gives campers a direct link they can use to book without searching the main platform first.
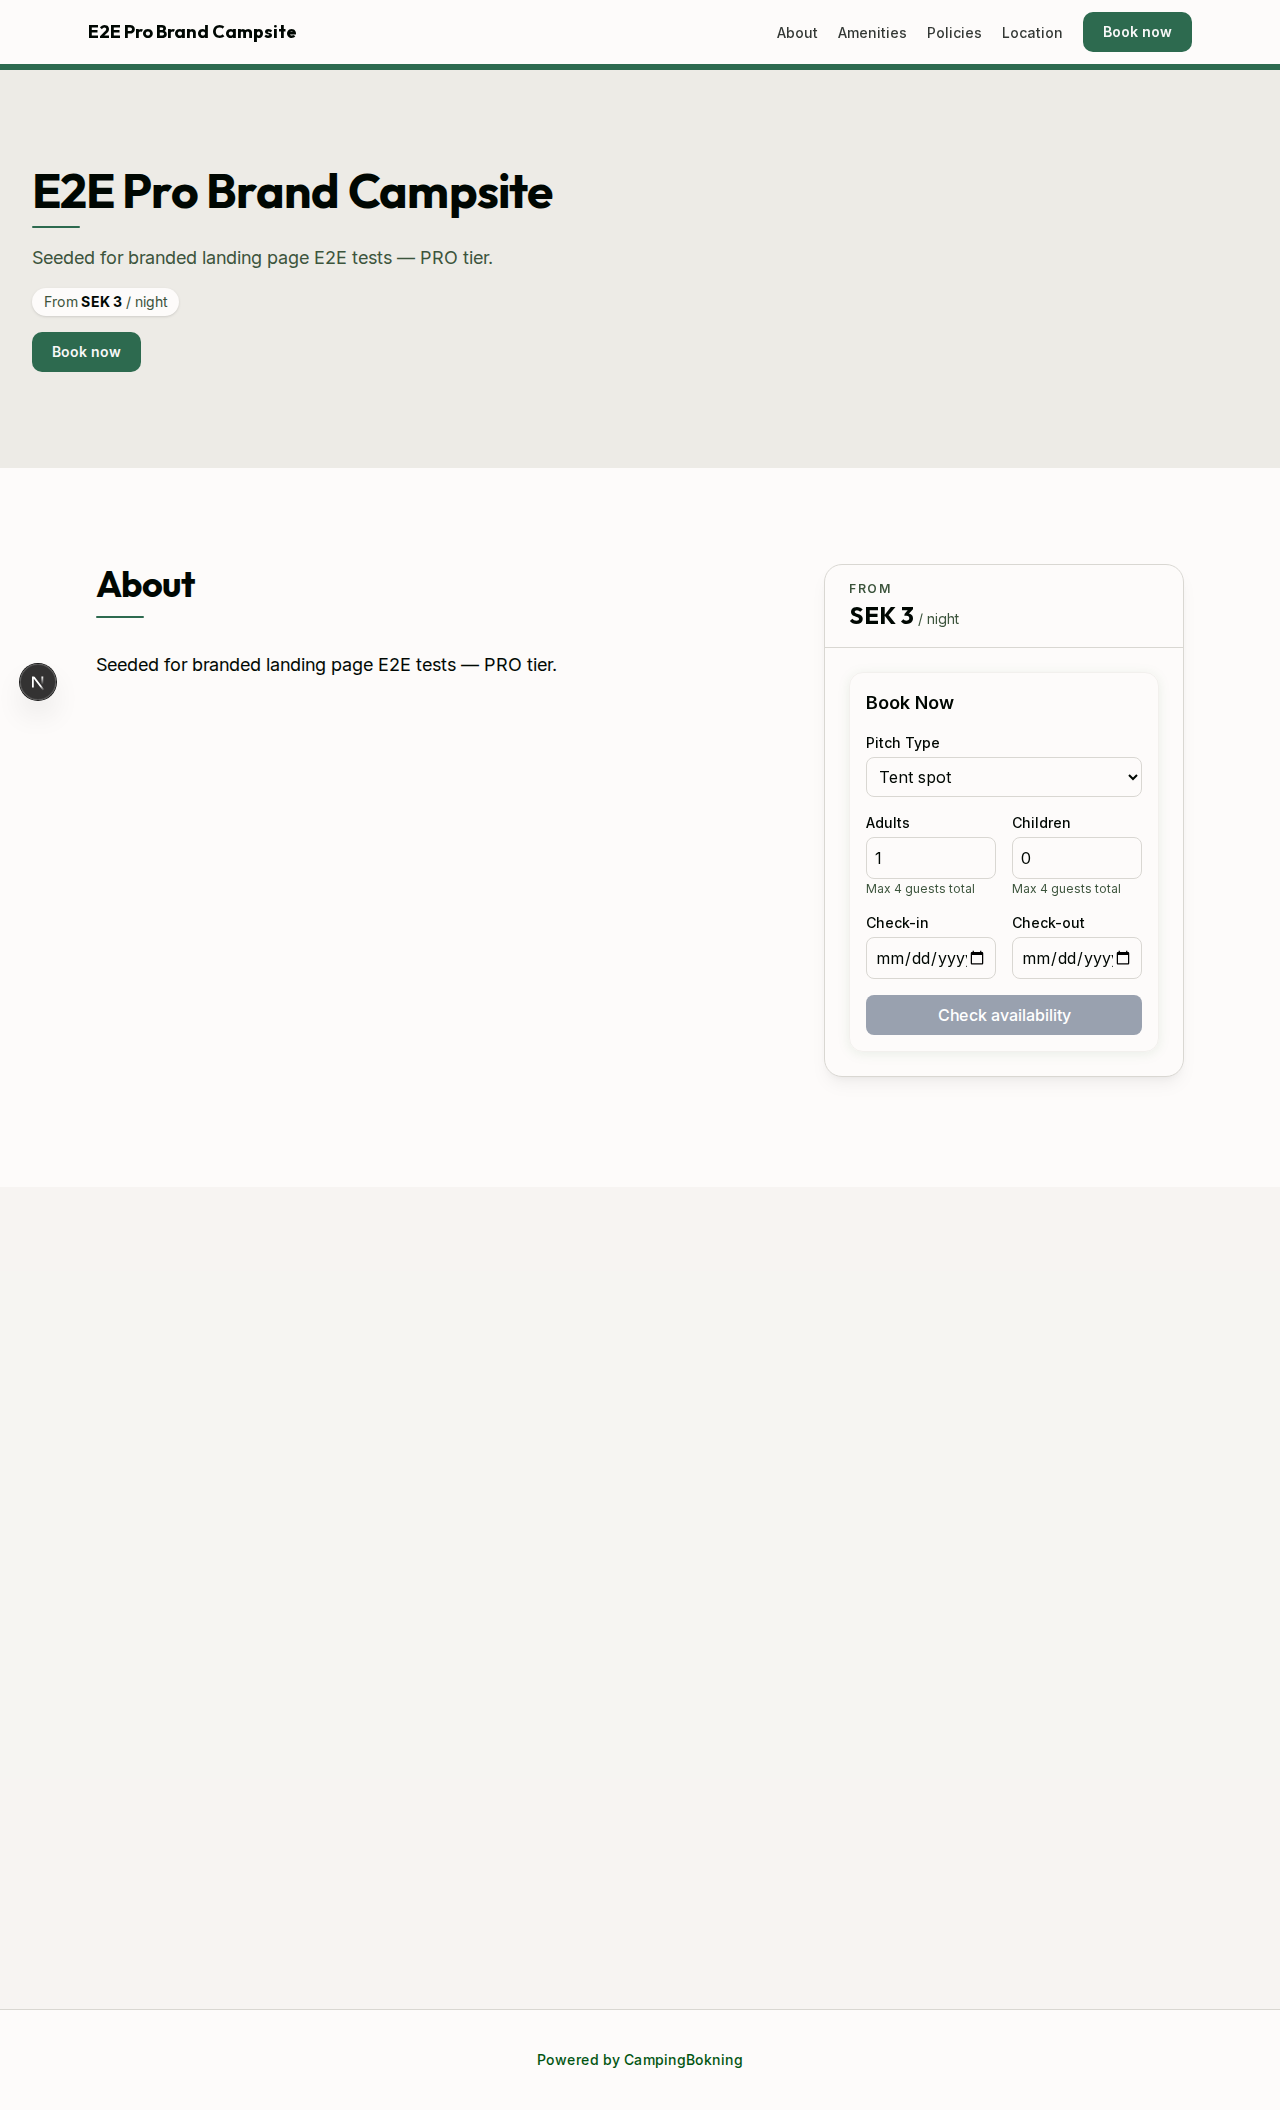
See Configuring your branded landing page to customise yours.
4. Your bookings inbox
When campers book a pitch, the request appears in your bookings inbox. From here you can review, approve or decline requests, and message campers.
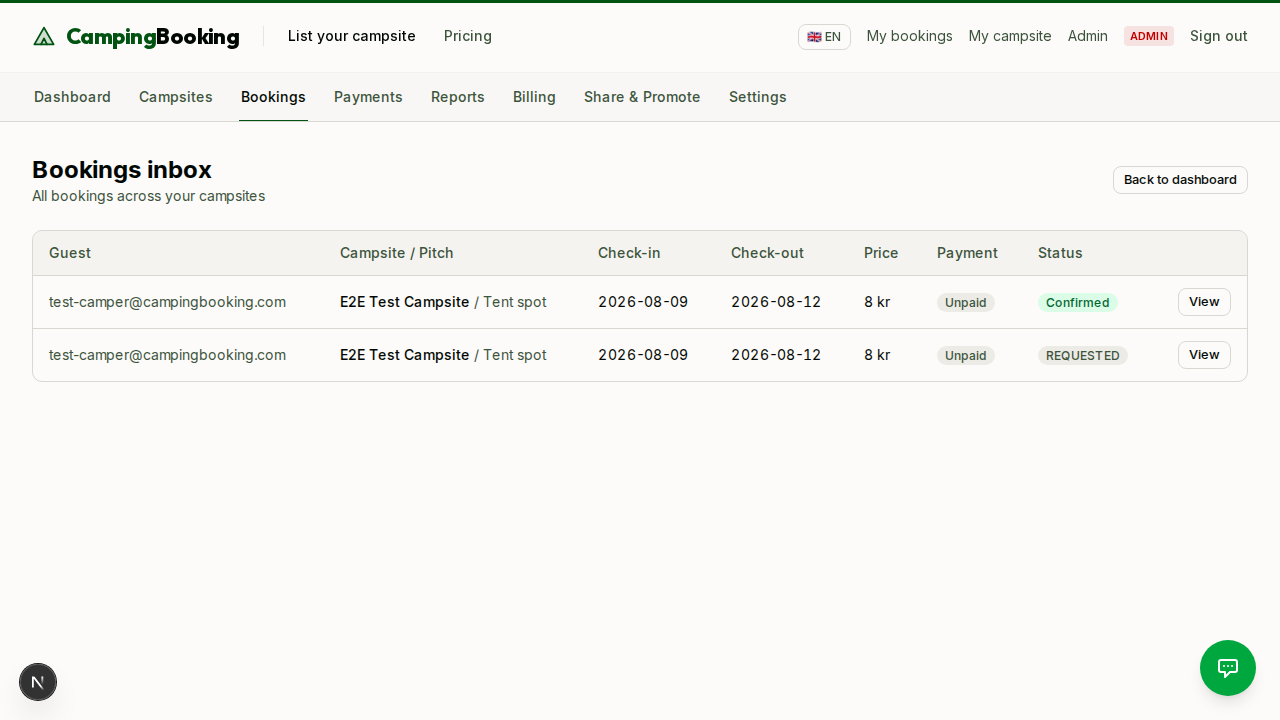
See Receiving and managing bookings for the full workflow.
5. Your Stripe payouts
Once Stripe Connect is set up, you can track your connection status and view payout history for completed bookings — without the platform taking any commission.
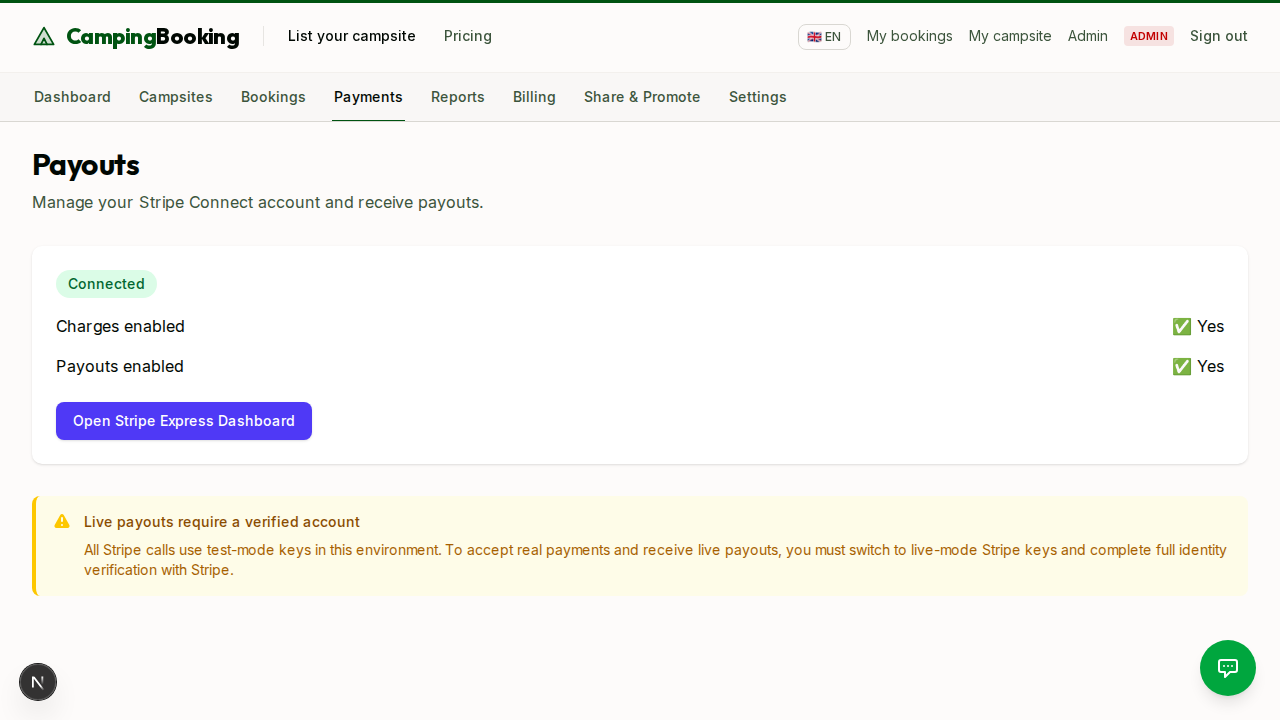
See Payouts via Stripe to connect your account.
Back to: Owner Onboarding Guides overview