4. Configuring Your Branded Landing Page
In addition to appearing in platform search results, every owner gets a branded
landing page — a public page at a custom URL (/sites/your-campsite-name) with
your own logo, colours, and shareable booking link. From Settings → Branding you
can set the slug, logo URL, and accent colour; Pro owners can also connect a custom domain from the same page.
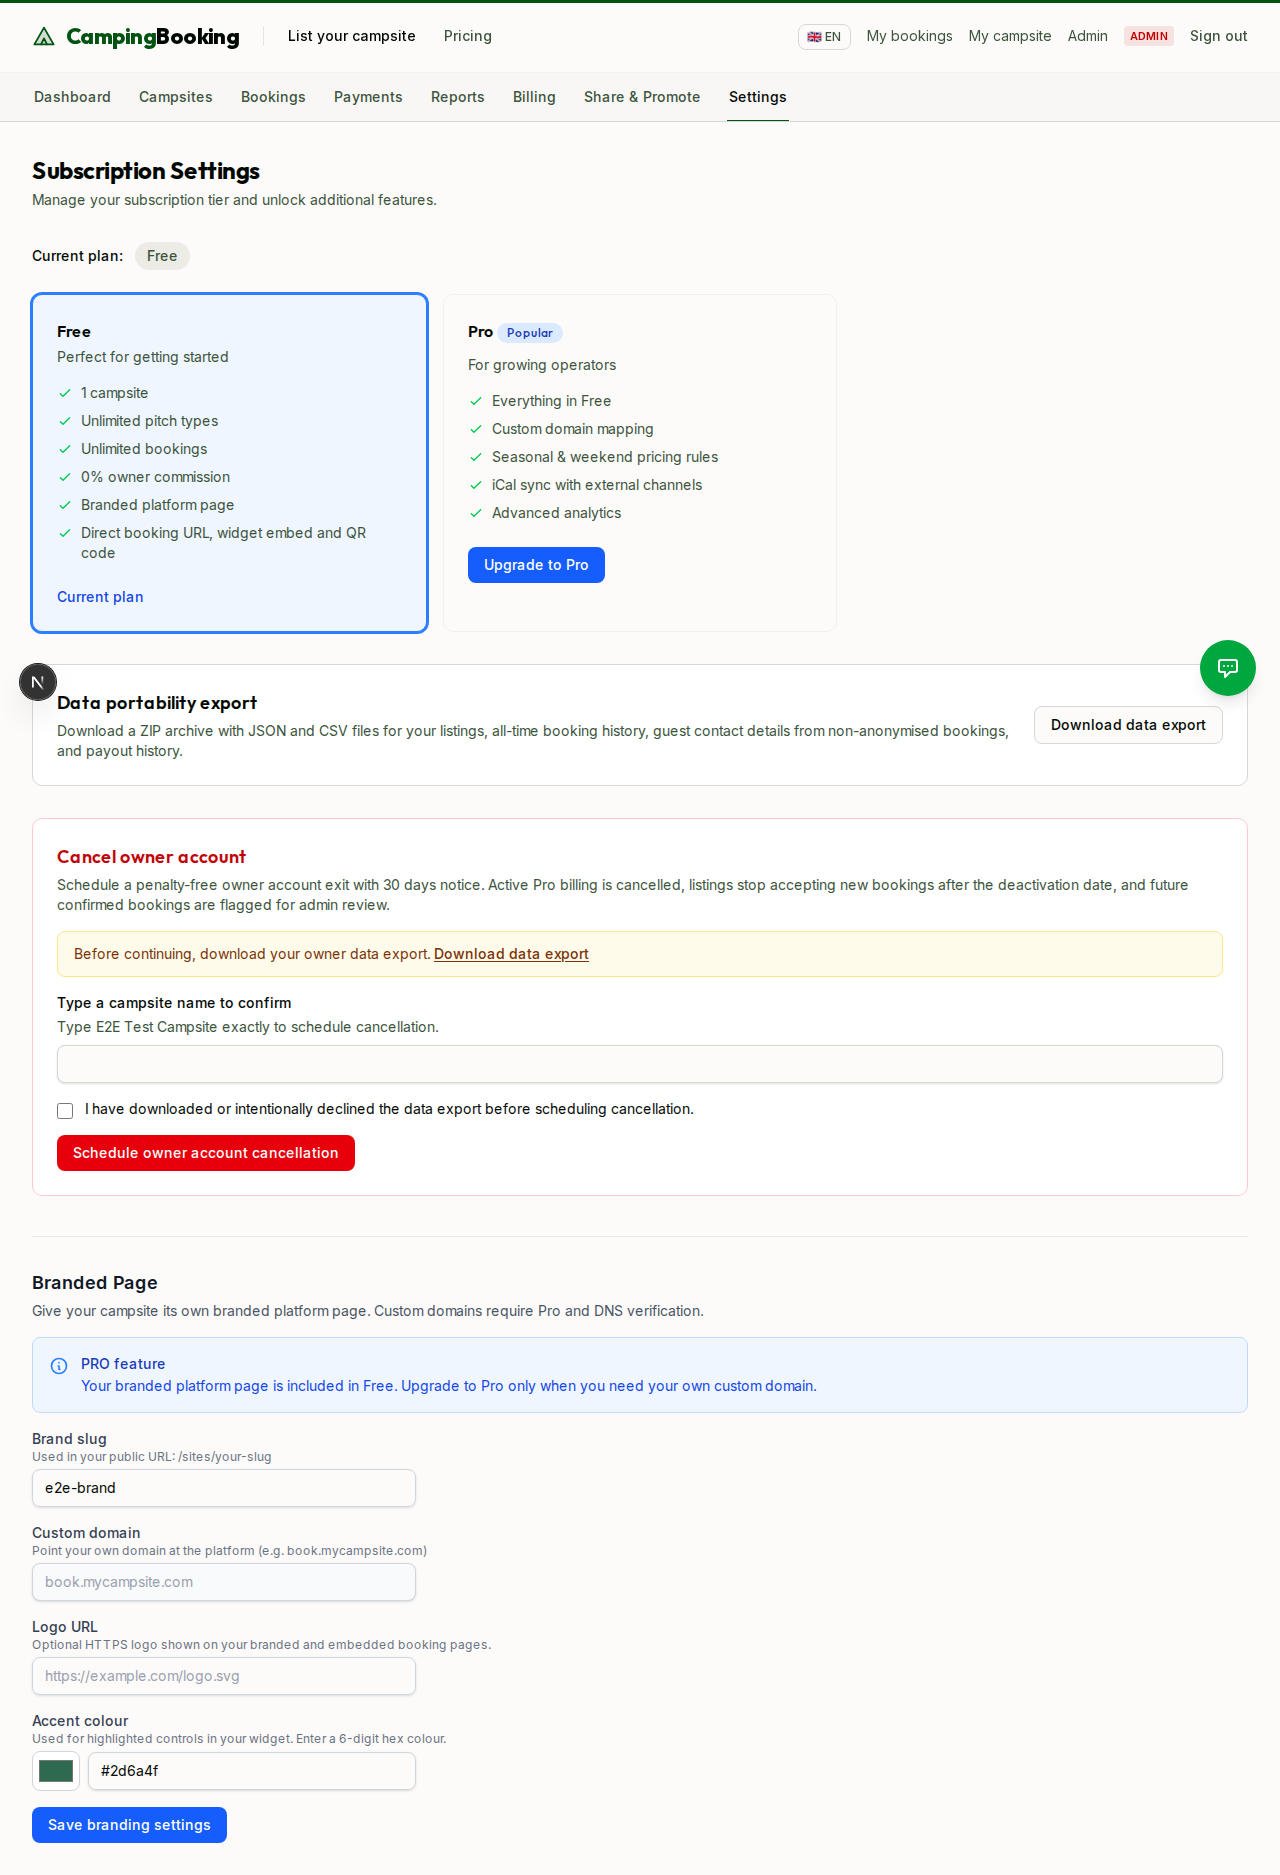
Step 1: Open branding settings
From your owner dashboard, go to Settings → Branding.
Step 2: Choose your slug
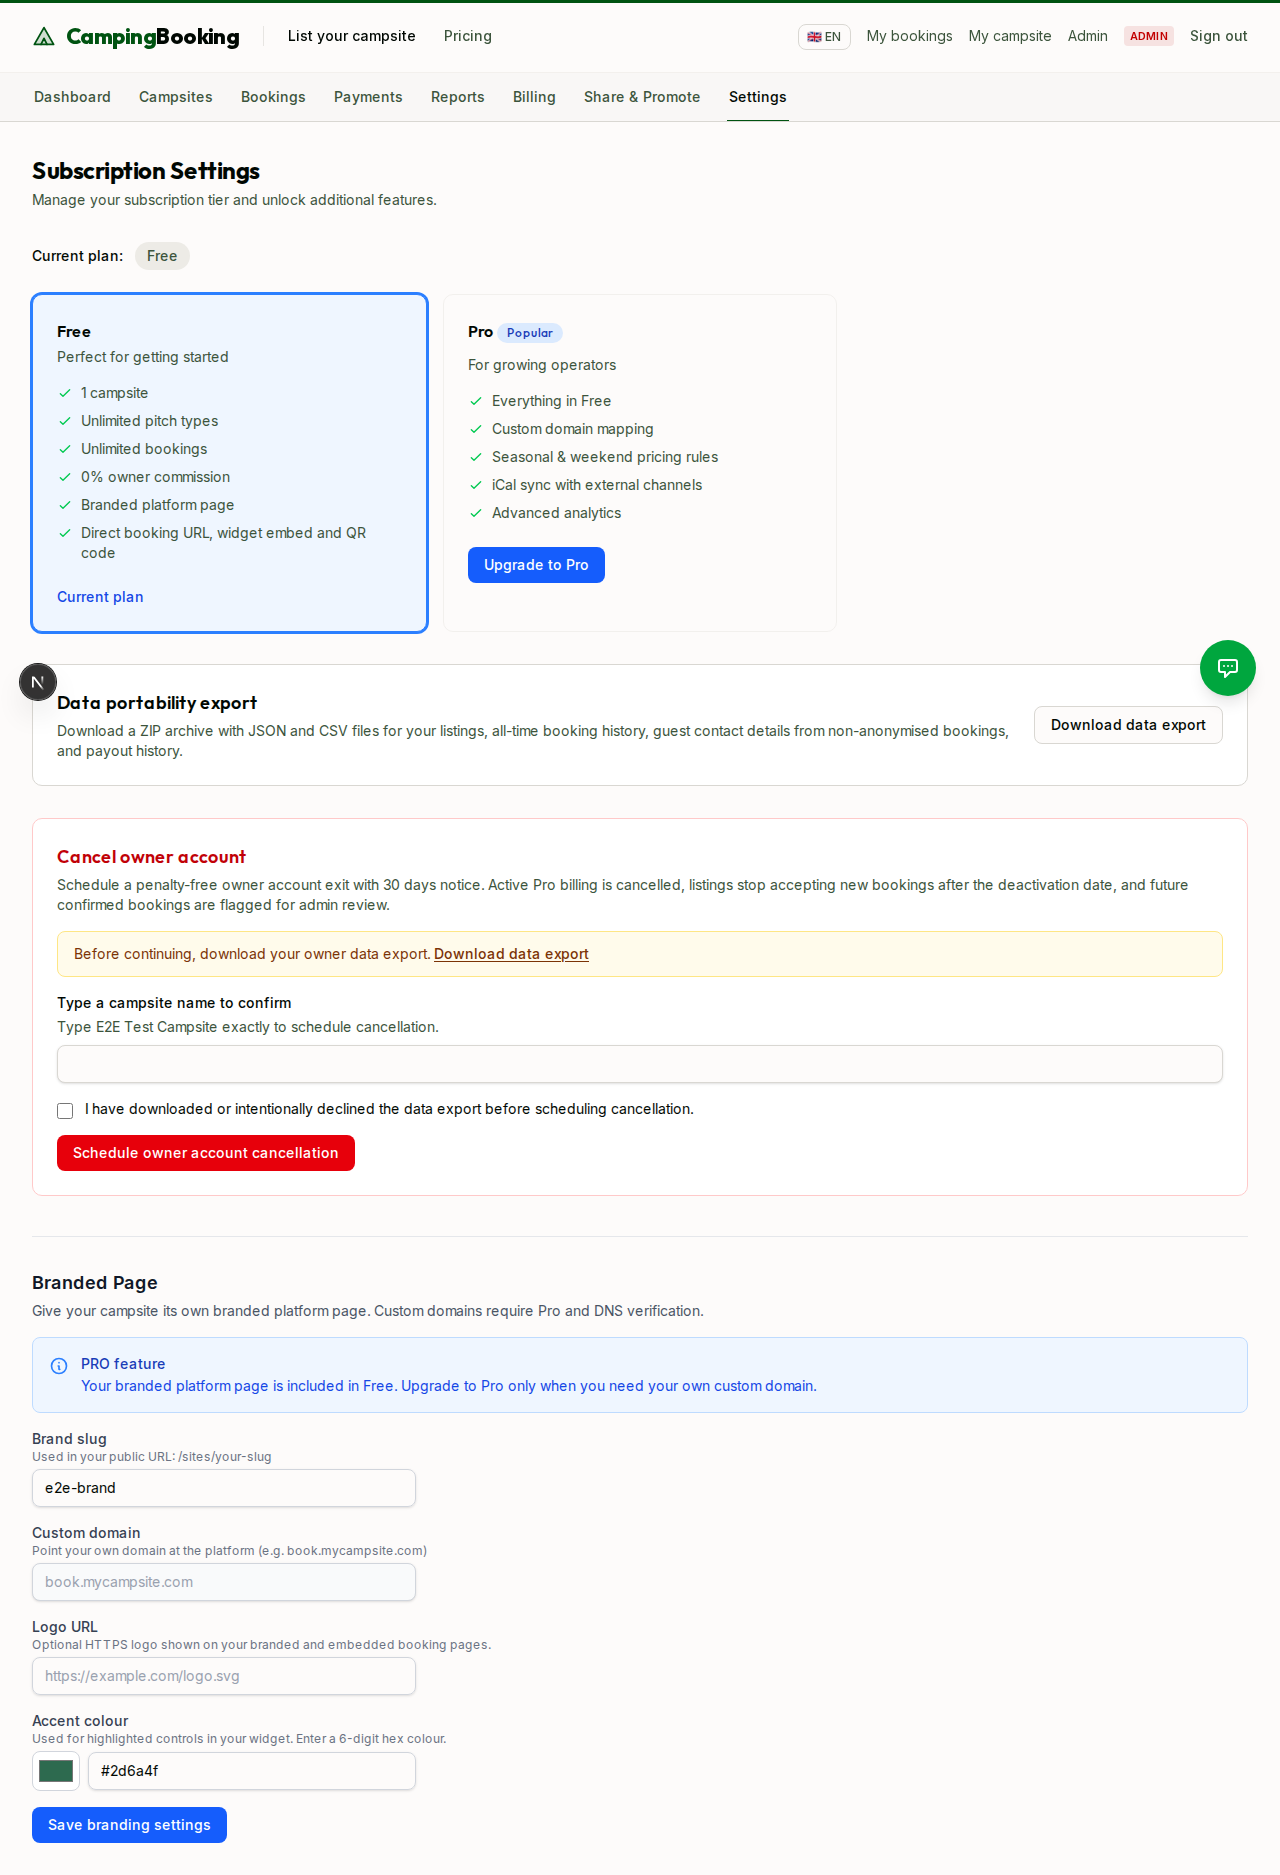
Set a custom slug — the part of the URL that identifies your branded page (for
example, lakeview-camping becomes yourplatform.com/sites/lakeview-camping). Pick
something short and recognisable, ideally matching your campsite's name.
Step 3: Set your logo, colours, and domain
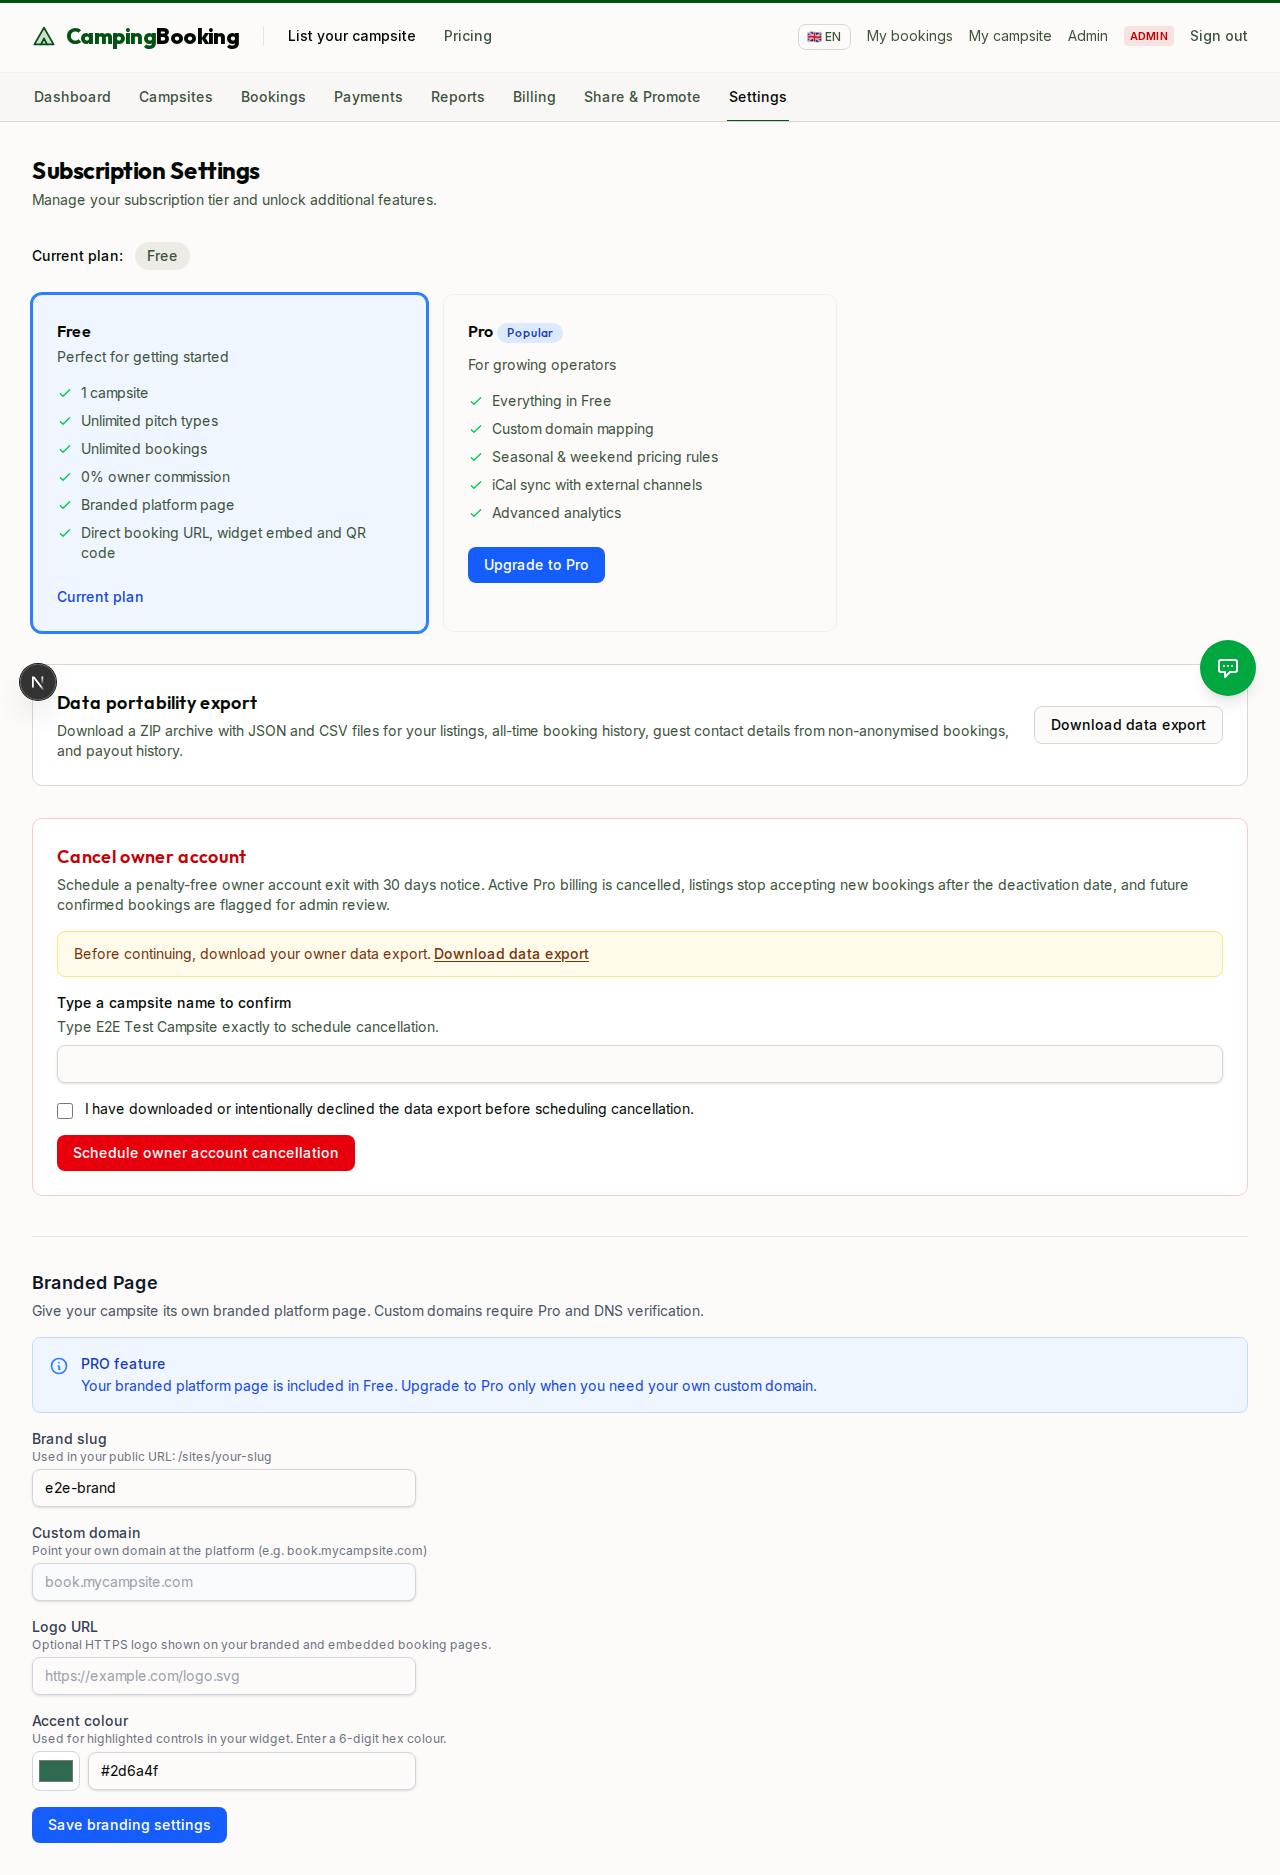
Add a logo URL for the page header and choose a brand colour that matches your camping site's style. If you're on Pro, you can also enter a custom domain and use the DNS verification instructions on the same page to connect it.
Step 4: Preview and share
Preview your branded page to see how it looks to campers. Once you're happy with it, use the Share tools on the owner tools page to copy your branded link, generate a QR code, or copy an embed snippet for your own website.
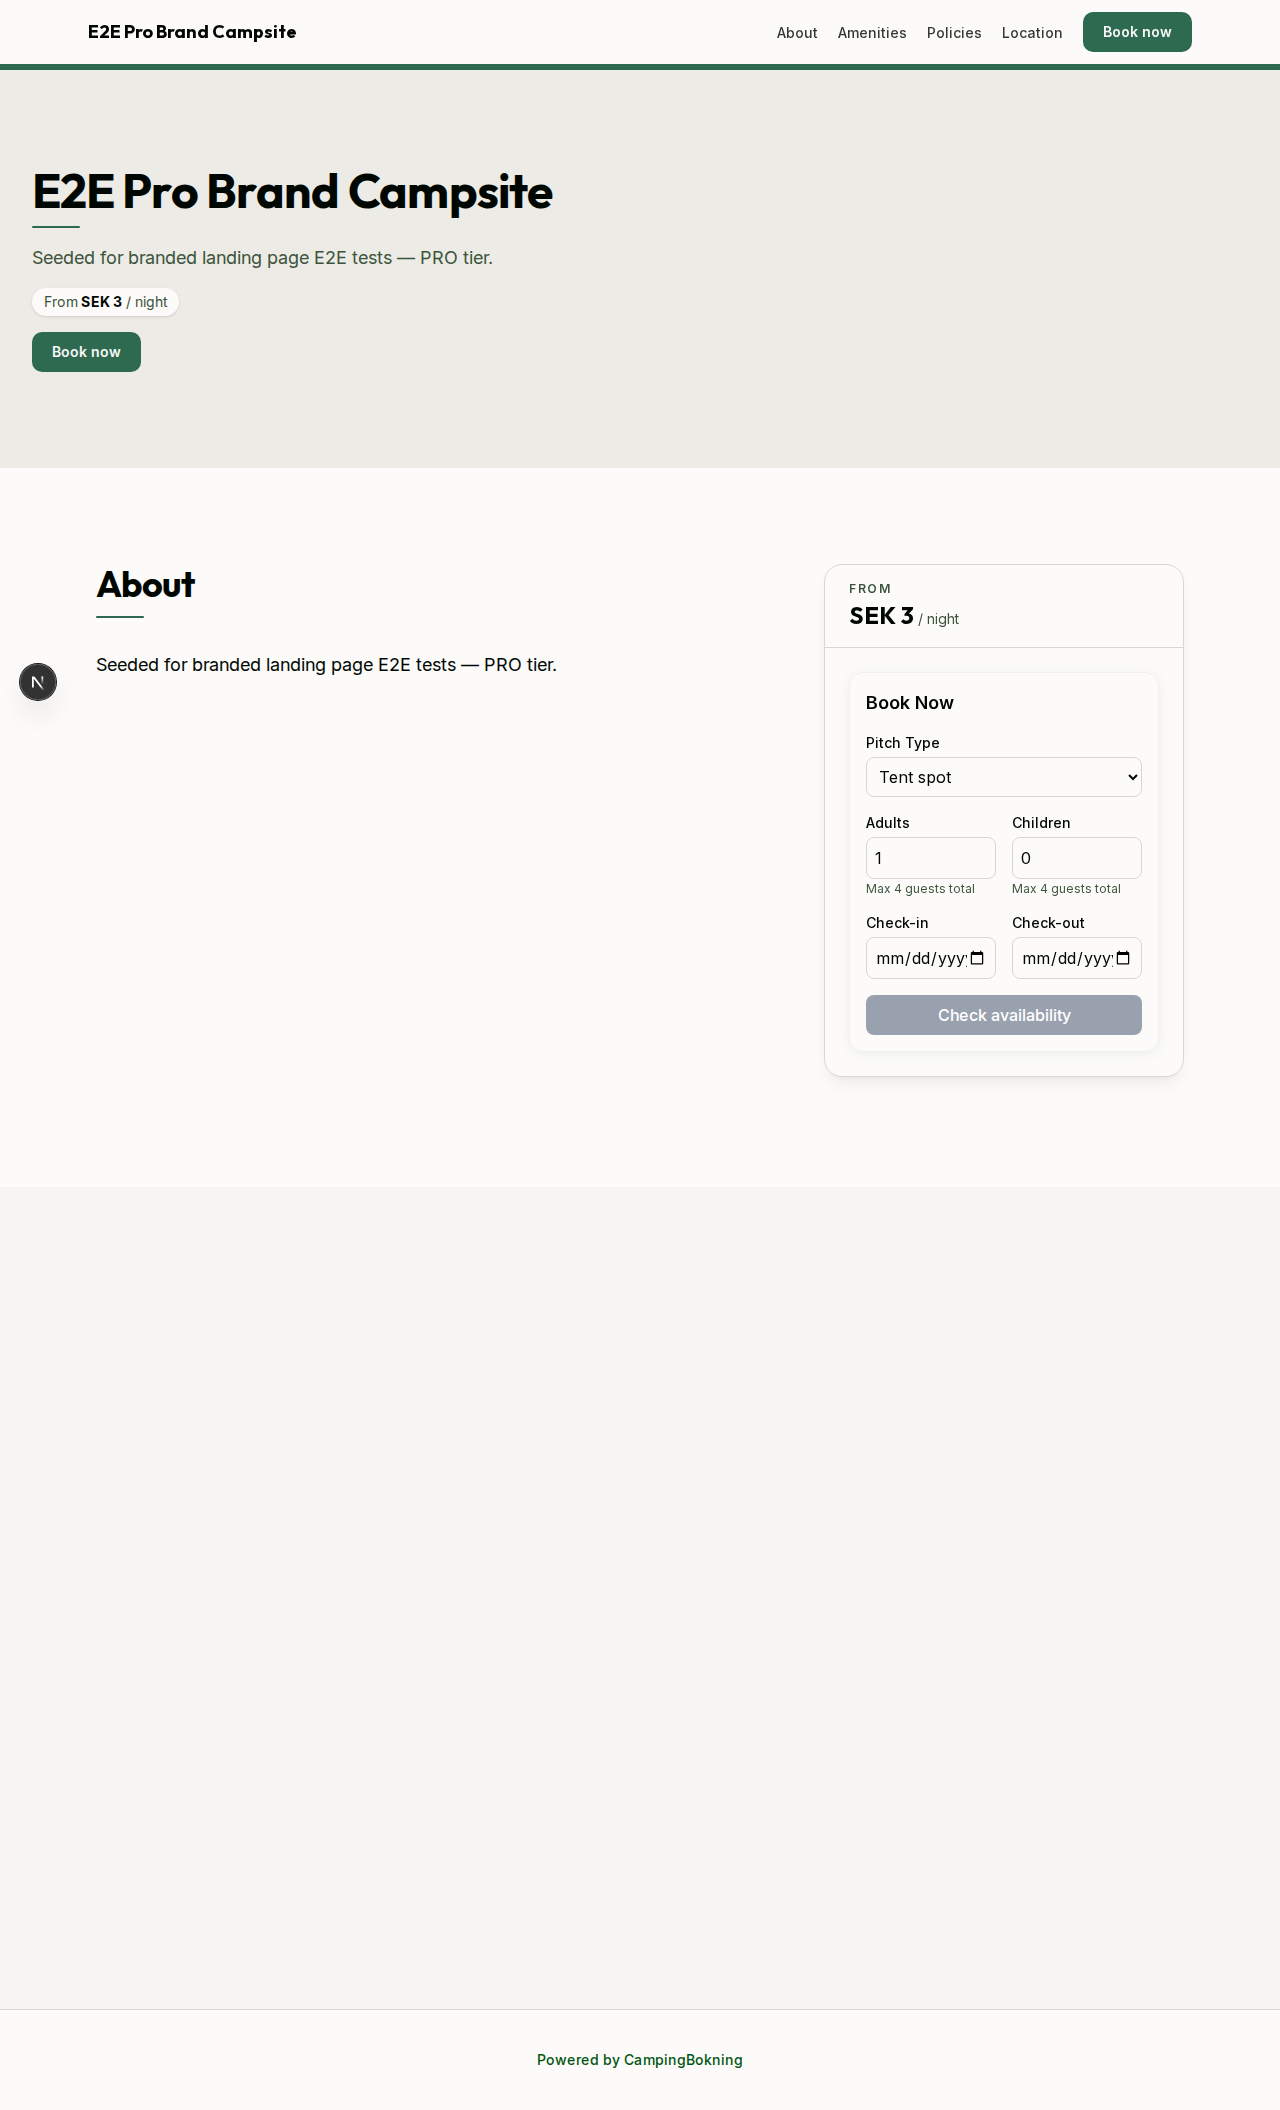
Your branded page includes a direct booking call-to-action, so guests who land on it can check availability and book your pitches directly — just like on the main platform.