2. Creating a Campsite and Adding Pitches
A campsite is your overall listing — the physical location campers will find when searching the platform. A pitch is an individual bookable unit within that campsite, such as a tent spot, an RV hook-up, or a cabin. You can add multiple pitch types to a single campsite.
Step 1: Start a new campsite
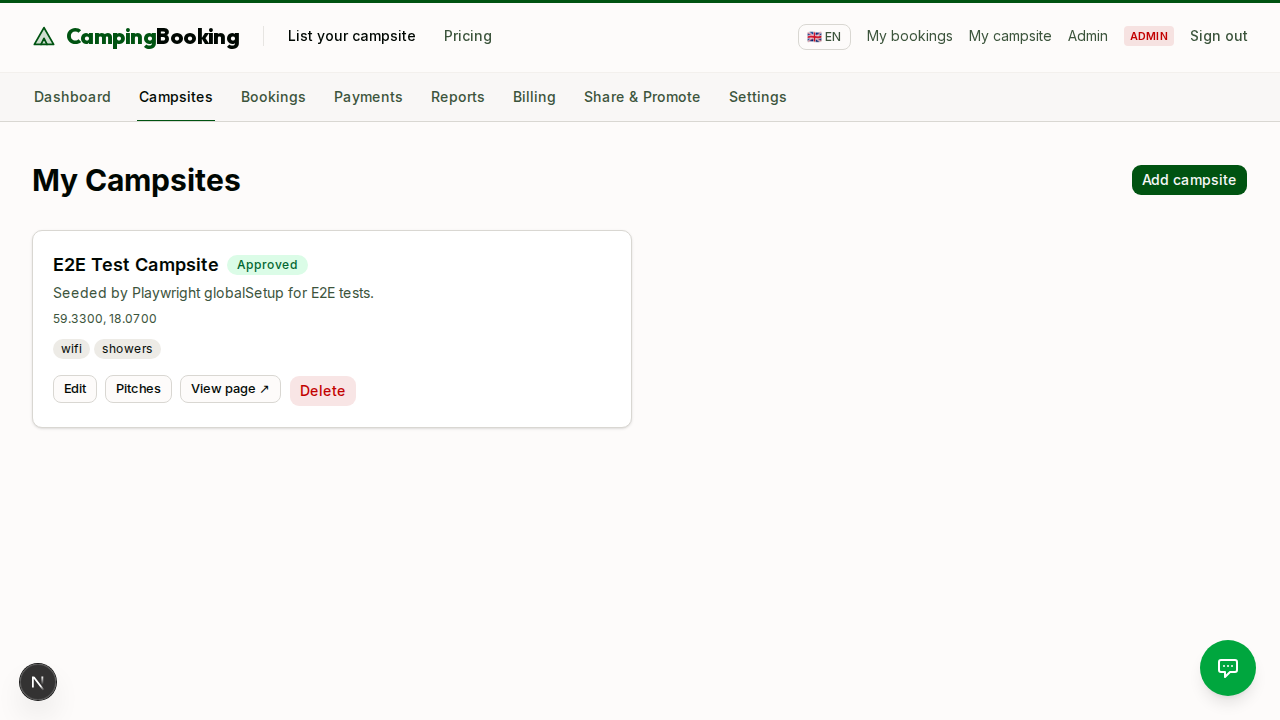
From your owner dashboard, go to Campsites and click Add campsite. If your email isn't verified yet, you'll see the verification banner here too — see Sign-up and email verification.
Step 2: Fill in campsite details
Provide the core information about your campsite:
- Name and description
- Location (address, which is geocoded for the map)
- Amenities (toilets, showers, electricity, Wi-Fi, etc.)
- Photos of the site
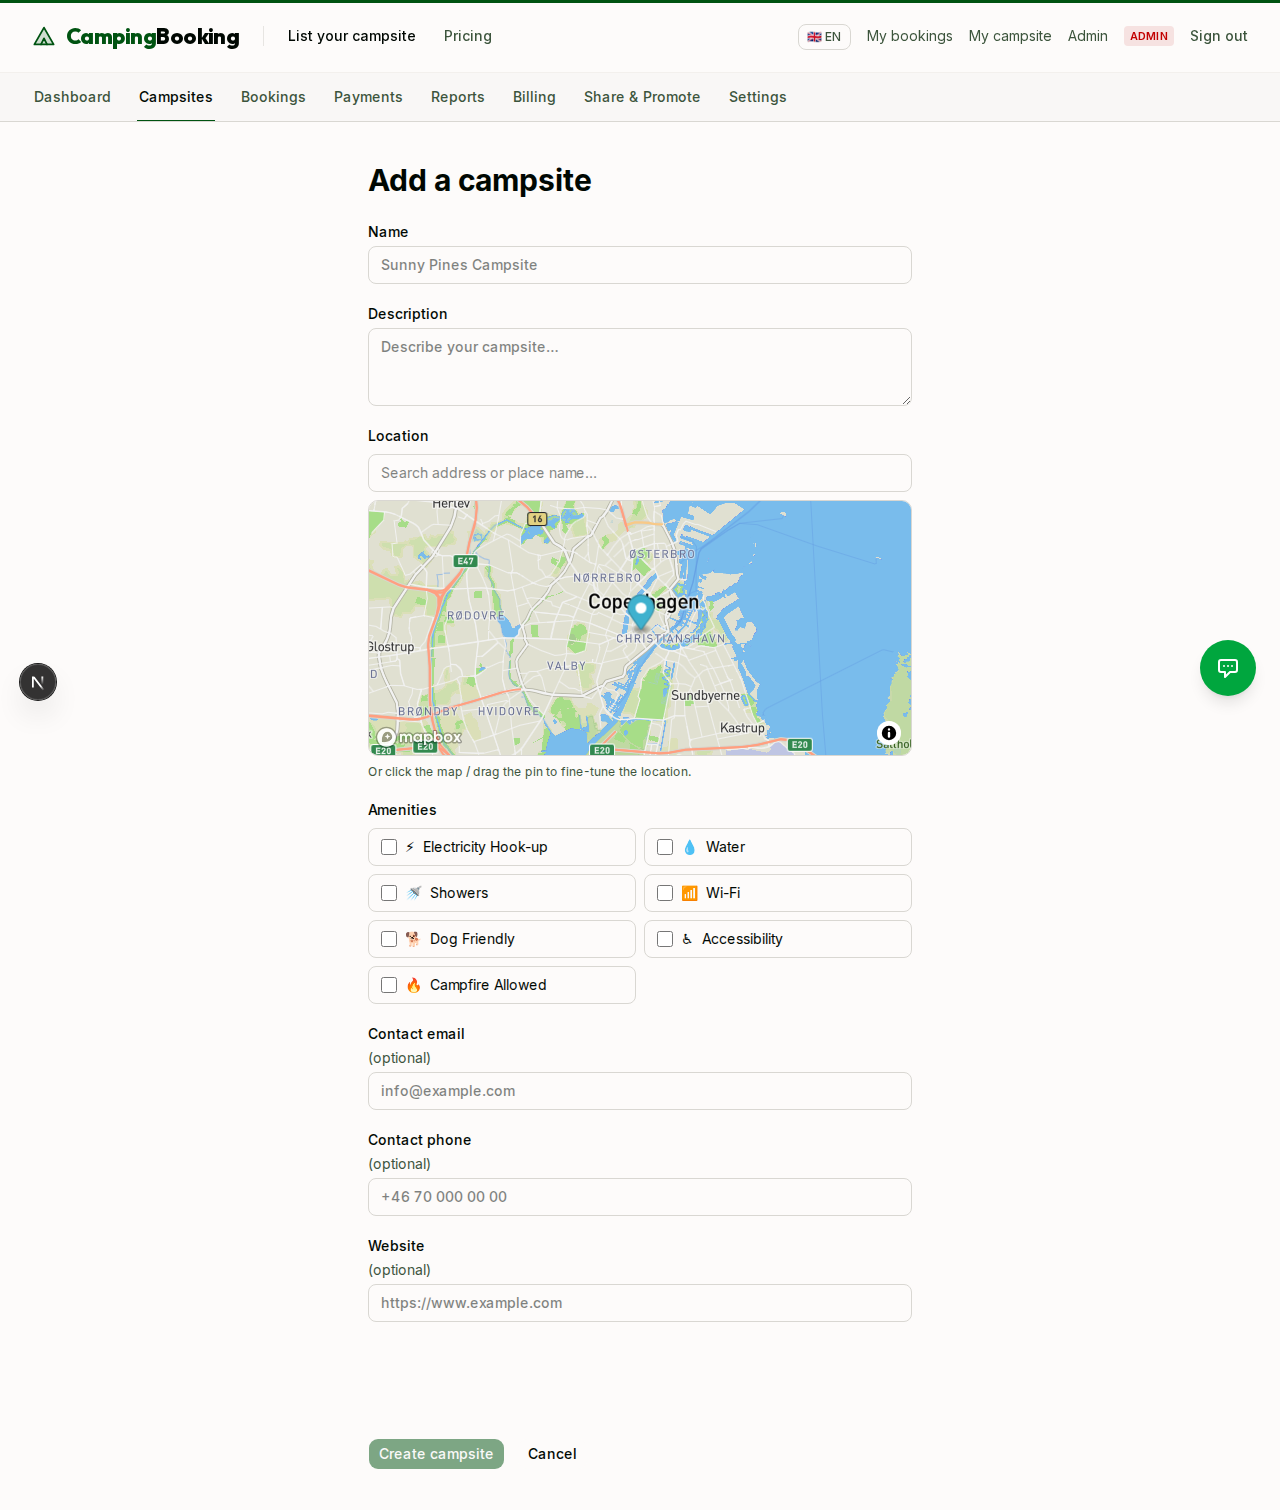
Save your campsite as a draft — it won't be visible to campers until it's published and approved.
Step 3: Add pitches
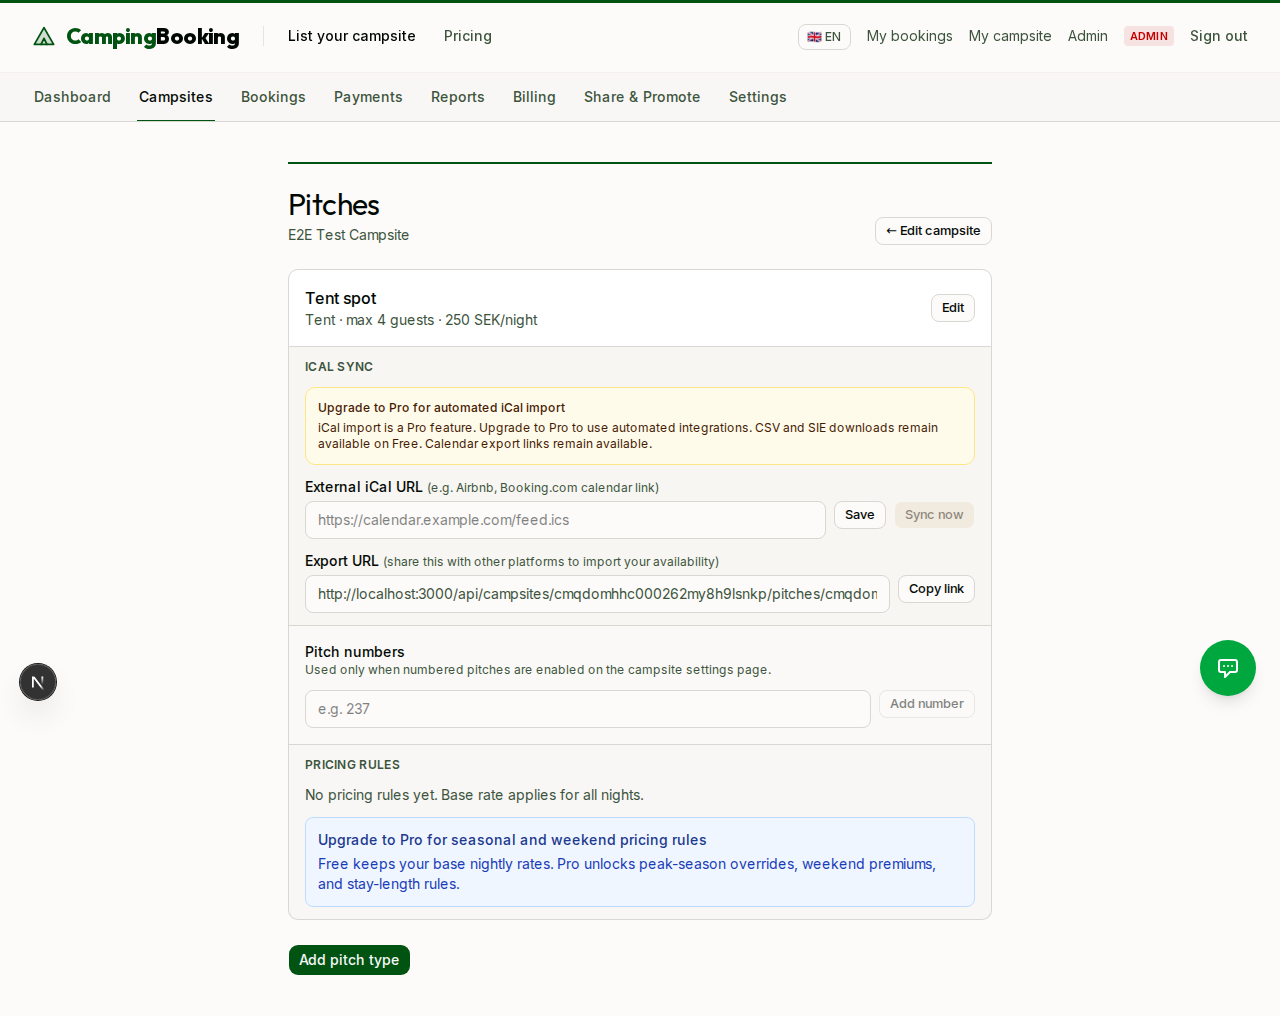
Open your new campsite and go to the Pitches tab. Click Add pitch to create your first bookable unit.
For each pitch, specify:
- Type (tent, caravan/RV, cabin, etc.)
- Name (e.g. "Pitch 12" or "Lakeview Cabin")
- Capacity (max guests)
- Description and any pitch-specific amenities
Repeat this step for every distinct unit you want campers to be able to book.
Step 4: Submit for approval
Once your campsite details and pitches are complete, submit the campsite for review. A platform administrator checks new listings before they go live — this is a quality gate to keep the marketplace trustworthy for campers.
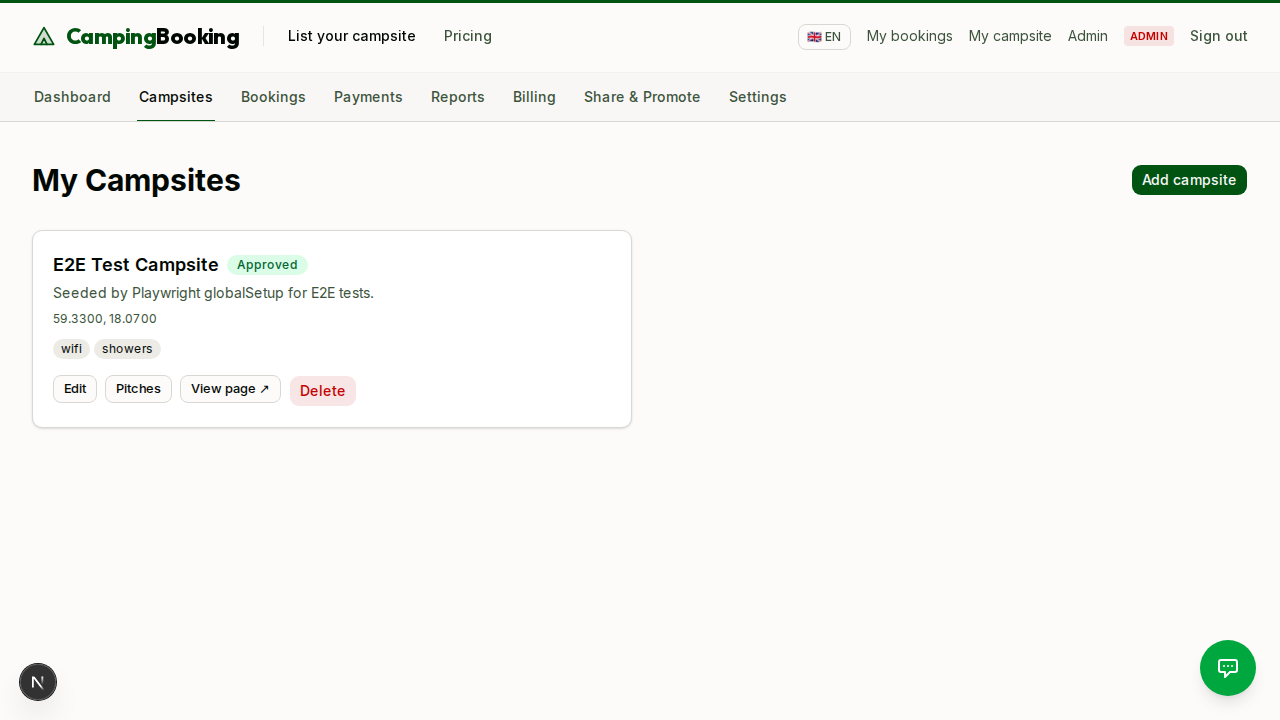
You'll receive an email once your campsite has been approved (or if changes are requested).