3. Setting Availability and Pricing
Campers can only book dates that you've explicitly opened up — and at the price you set per night. This guide covers the availability calendar and per-pitch pricing.
Step 1: Open the availability calendar
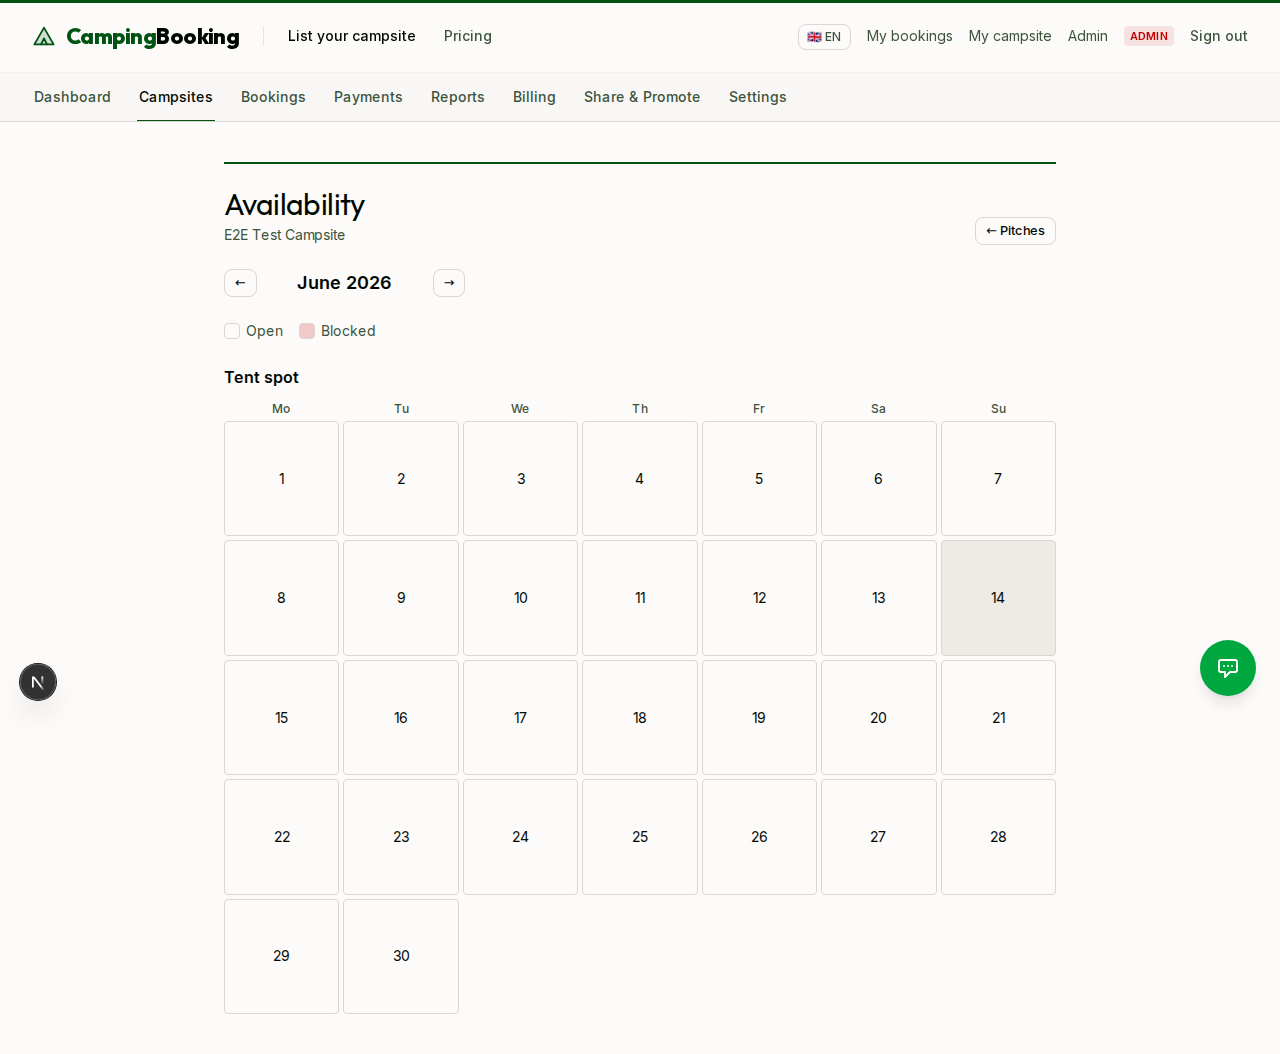
From your campsite's dashboard, select a pitch and go to its Availability tab. This opens the availability calendar, which shows every night as either open, booked, or blocked.
Step 2: Mark dates as available
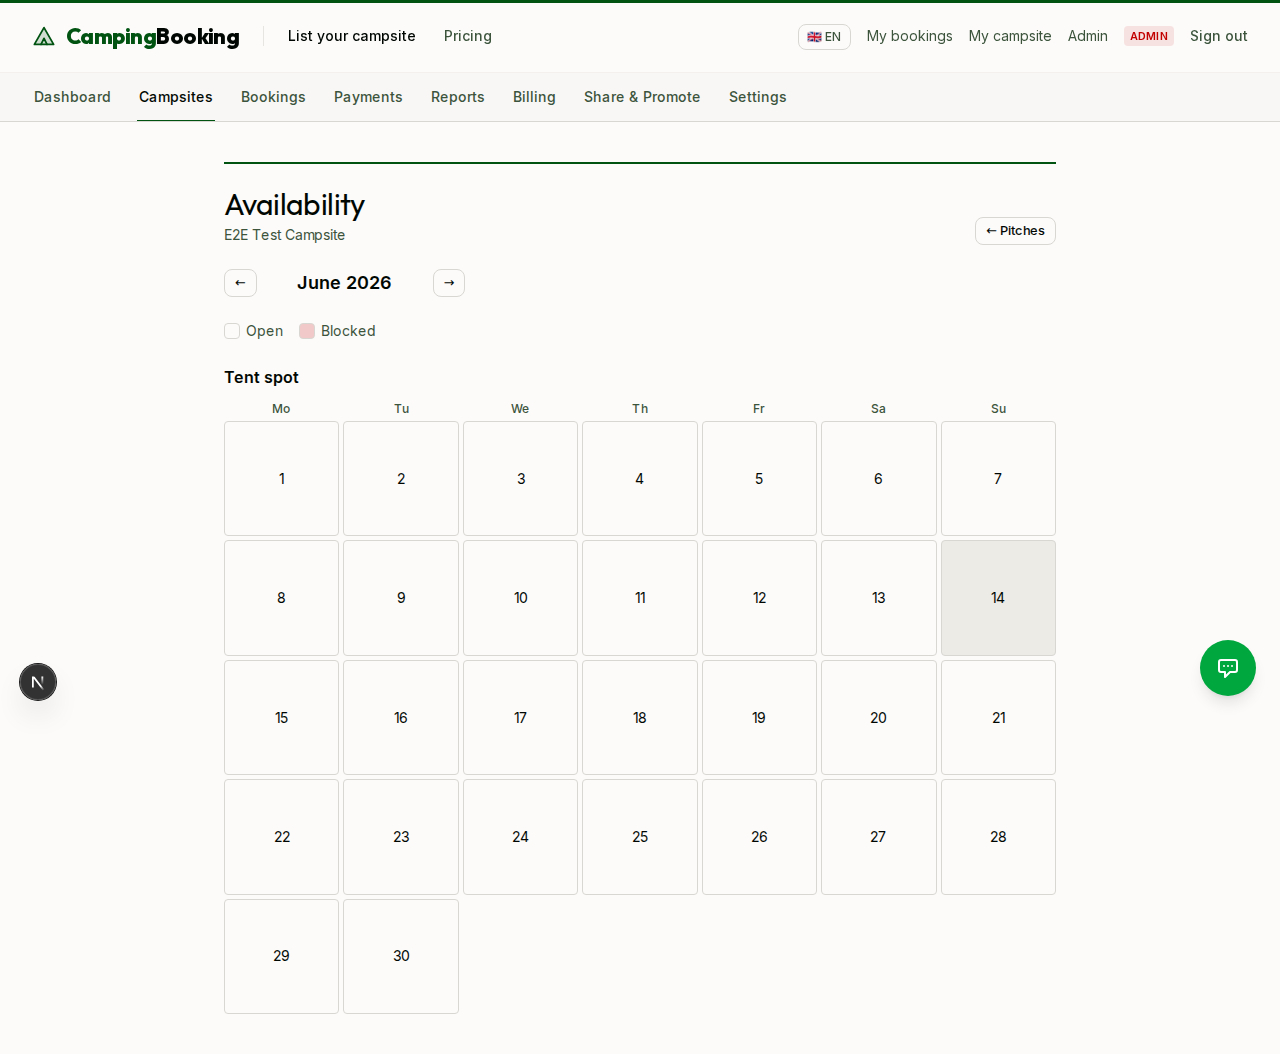
Click or drag across a range of dates to toggle them open for booking. Each open night is referred to as a slot — a single-night unit of availability for that pitch.
- Green = open for booking
- Grey = not yet opened (campers can't book these dates)
- Booked dates are shown separately and can't be edited directly here — see Receiving and managing bookings for cancellations.
Step 3: Set pricing
Set a price per night for the pitch. You can set a base price that applies to all open nights, or override pricing for specific date ranges (for example, higher rates during peak summer weeks).
Note on fees: The price you set is what you, the owner, receive in full — there is no commission deducted. Campers pay your listed price plus a transparent 3% booking fee at checkout, which covers platform costs. You always keep 100% of your booking revenue.
Step 4: Save and review
Save your changes. The calendar updates immediately to reflect the new availability and pricing, and these dates become bookable by campers as soon as your campsite is approved and published.
Step 5: Check occupancy at a glance
Once you have bookings coming in, the Calendar view (linked from the availability page) gives you a month-at-a-glance planner across all of your pitches — open days, partially booked days, and fully booked days are colour-coded so you can spot availability gaps without opening each pitch individually. Click any occupied day to jump straight to the bookings for that date.

Visual walkthrough
The availability calendar has a few moving parts (date ranges, slot states, pricing overrides) that are easier to follow alongside screenshots of the rest of the owner experience — see the visual walkthrough: after signup for your campsite and pitches in context.